
A glamping pod can provide a private garden retreat or paying guest accommodation. Before choosing a design, check whether the site can support the structure, services and intended use. Insulation and heating matter, but so do access, drainage and planning permission.
Decide what the pod needs to do
A glamping pod is a small building designed for overnight stays. It might be a simple sleeping space with access to facilities elsewhere, or a self-contained unit with a bed, kitchenette, shower and WC. Decide how you will use it before settling the size and layout.
A site-built timber pod can be designed around the ground, trees, access and services at your site. An off-the-shelf shell may provide a simpler starting structure, but it still needs a suitable foundation and a plan for insulation, utilities, drainage and access.
The structure is only one part of the project. Services, site preparation, planning and everyday use often determine whether the pod works well. List what you need it to provide in winter as well as summer.
Choose a workable site
Check how wind, shade and sunlight affect the proposed location. A sheltered position may make the outdoor space more usable, while tree cover can reduce daylight and solar gain. Consider the direction and size of windows alongside privacy and views.
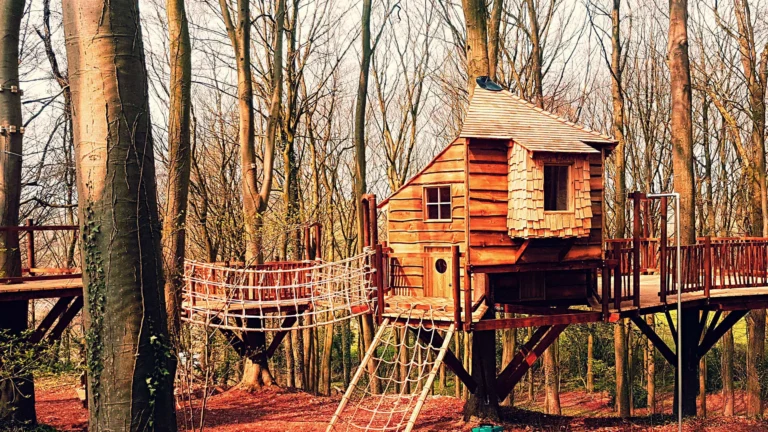
Assess ground levels, slope, drainage and flood risk before choosing a foundation. A sloped or wooded site may need a designed foundation or a raised, stilted structure rather than a flat pad. Keep surface water away from the building and plan how rainwater will drain from the roof.
Identify tree roots and any areas that need protection before deciding where to dig or place supports. Check the position of boundaries and nearby buildings, and consider privacy, overlooking and the effect of the pod on neighbours. Do not assume that one boundary distance applies to every site or planning situation.
Plan how people and materials will reach the site. Check vehicle access for delivery and construction, including gates, turning space, overhead branches and the route across the ground. Then plan how family or guests will arrive, find the pod and move between it, parking and any shared facilities. Provide a safe, practical route for wet and dark conditions.
Plan for year-round comfort
Specify insulation for the floor, walls and roof. Insulating only the walls can leave the floor or roof as a weak point in cold weather. Detail the structure to limit draughts and moisture while allowing the materials to perform as intended.
Choose glazing to balance daylight, privacy and solar gain. A window that brings useful winter sun can also let the pod overheat in summer. Consider orientation, shade and the possibility of opening windows.
A small, well-sealed room needs ventilation to manage moisture from people, cooking and showering. Plan ventilation alongside insulation and heating, rather than relying on occasional window opening alone. Poor moisture control can lead to condensation.
Choose heating to suit the pod’s insulation, size, available energy and use. A mains connection can support a different level of heating and appliance use from an off-grid system. Solar panels with battery storage can supply some uses, but available power depends on system capacity, season, sunlight and demand. Work out which appliances must run and when before relying on solar and batteries.
Plan water supply, hot water and drainage before construction. Protect water pipes and equipment from freezing, especially in a raised structure exposed to cold air. Decide where wastewater will go and check the requirements for the site with the relevant local authority and service providers before construction starts.
Allow for refuse storage and collection, including how guests will dispose of waste. For a raised pod, plan service routes beneath the floor so pipework and cables are protected, reachable for maintenance and not left exposed where they can be damaged.
Fit the layout to the footprint
Draw the main activities into the floor plan before fixing the room dimensions. Allow space for the bed, sitting, storage and any kitchenette, shower and WC. A pod for two can use a more compact arrangement than one intended for a family, which may need additional sleeping space and clearer circulation.
Check sightlines from the bed and sitting area, and make sure the layout does not block windows or the entrance. Test headroom where the roof slopes and where people need to stand, dress or use storage. Keep frequently used items within easy reach.
Consider how doors and decking work in wet weather. Allow enough space to open the door without blocking the route, and think about where wet footwear and coats can be left. Use a covered entrance or suitable storage if the plan allows.

Check planning and consents early
Do not assume that a pod is permitted because it is small, timber-built or movable. The Planning Portal’s guidance on glamping pods says a commercial glamping pod will usually need planning permission. A change of use may also be involved, and proposals may include related access or utility works.
A pod in a garden may be considered an outbuilding under permitted development only where the use qualifies. In England, permitted development for outbuildings is for purposes incidental to enjoyment of the house; it does not cover separate self-contained accommodation or primary living space. Check the householder permitted development guidance and ask your local planning authority whether your intended use needs permission.
Before proceeding, check permitted development limits, any Article 4 Direction, and whether the property is listed or in a conservation area, National Park or Area of Outstanding Natural Beauty. Rules and guidance differ across the UK, so seek advice from the relevant local planning authority for your location.
Treat Building Regulations as a separate question from planning permission. Ask the local building control service whether they apply to the proposed structure and intended use. If you will take paying guests, read the government’s A Guide to making your small paying-guest-accommodation safe from fire. It covers glamping pods and explains the need for a suitable fire risk assessment and appropriate safety measures.
Also check insurance, business rates, and any site licence or holiday-let registration requirements with the relevant local authority and providers. Do not assume the requirements are the same in every location or for every type of use.
Specify timber and maintenance details
Choose sustainably sourced, treated timber and make sure the design manages water. Roof overhangs and rainwater goods help direct rain away from walls and entrances. Ventilated cladding allows air to circulate behind the outer boards, while suitable fixings help secure the structure and reduce problems from movement and weather exposure.
Set a maintenance schedule before the pod is in use. Inspect the roof, rainwater goods, cladding, external coatings, fixings, steps and deck at regular intervals. Clear leaves and debris, check for water damage, and address repairs promptly. A pod used year-round needs attention after periods of heavy rain, frost and strong winds as well as routine checks.

Plan a bespoke project with Squirrel Design
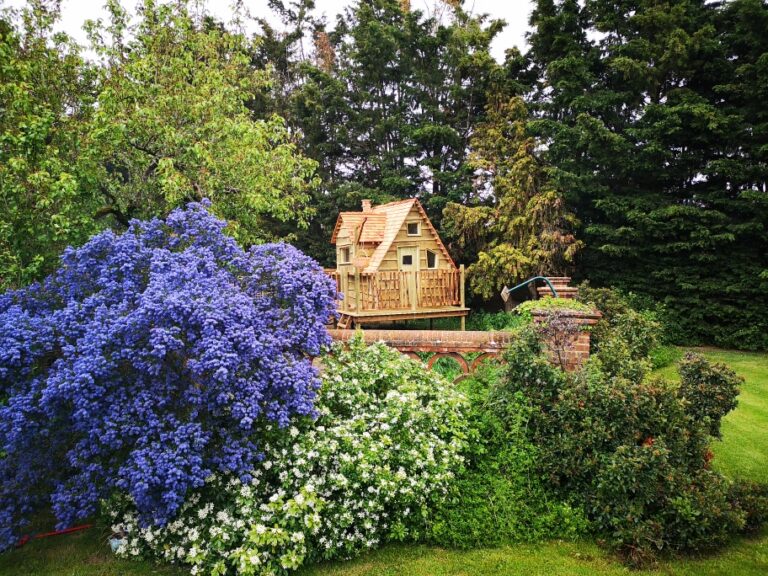
Squirrel Design creates bespoke outdoor structures, including treehouses, playhouses, garden offices and glamping retreats. The process starts with a free initial site survey, followed by custom design and CAD planning. The team can also help with planning permission and builds with sustainably sourced, treated timber.
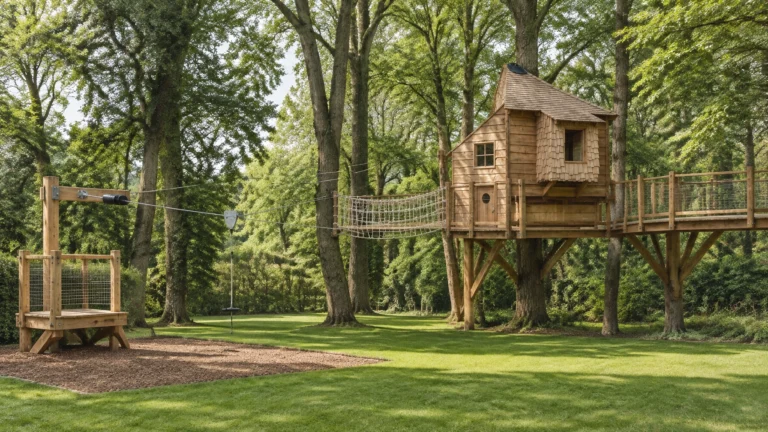
If your project involves a raised or tree-based structure, consider how treehouse design principles can inform the approach to slopes, access and the surrounding landscape. Squirrel Design’s custom treehouse builders can discuss how a bespoke structure could fit your site and intended use. The company has a 100% record of starting and finishing projects on time.
View the project gallery or contact Squirrel Design to discuss your site and requirements.